Kneading dough is a key skill for every baker, as it helps develop the gluten structure, giving bread its perfect chewy texture. Though it may seem challenging at first, with a bit of practice, you’ll master the art of kneading in no time.
Understanding the Importance of Kneading
Kneading is crucial for several reasons:
- Gluten development: Kneading stretches and folds the gluten proteins in the flour, creating a strong network that gives bread its structure.
- Even distribution: It helps distribute ingredients like yeast, salt, and sugar evenly throughout the dough.
- Texture improvement: Proper kneading results in a smooth, elastic dough that bakes into a delicious loaf.
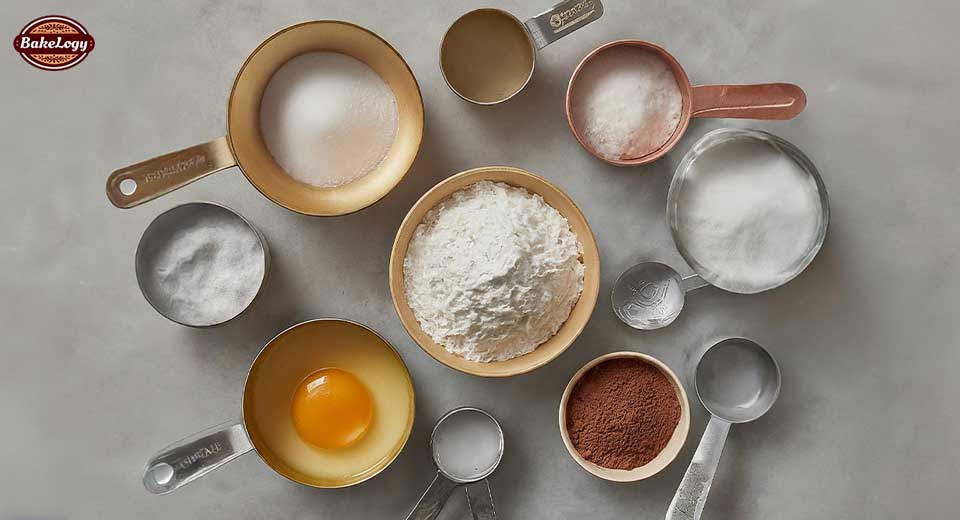
Equipment Needed
Before you start kneading, gather the following:
- Clean work surface: A flat, smooth surface like a countertop or a silicone baking mat.
- Flour: For dusting the work surface and your hands.
- Dough scraper (optional): This can be helpful for handling sticky dough.
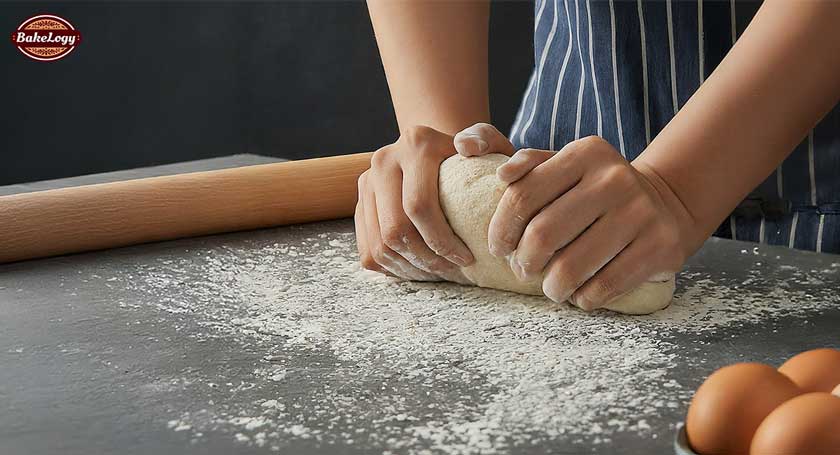
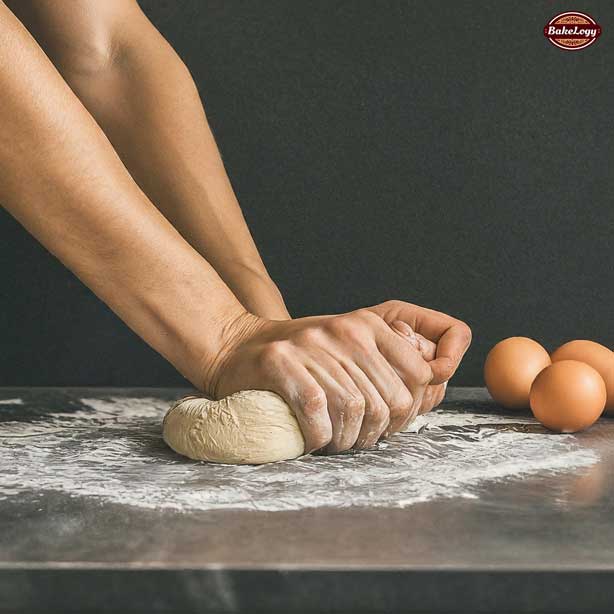
Steps to Kneading Dough
- Prepare your work surface: Lightly flour your work surface to prevent the dough from sticking.
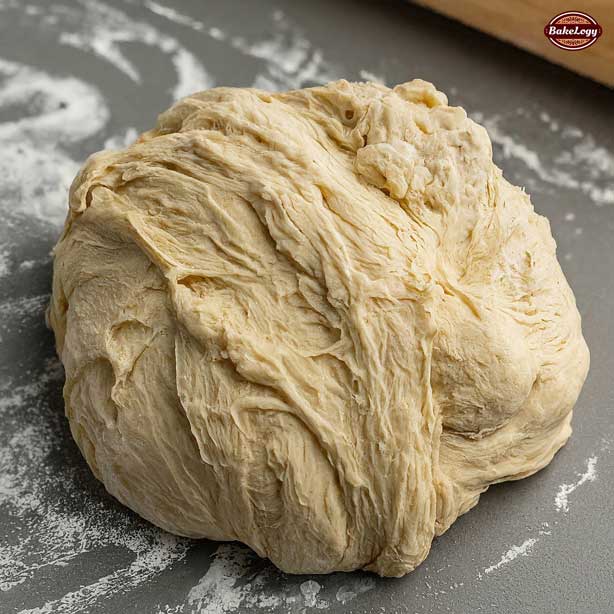
- Turn out the dough: Gently transfer the dough from the bowl to the floured surface.
- Begin kneading:
- Use the heels of your hands to press down and away from you.
- Fold the dough over itself.
- Turn the dough 90 degrees and repeat the process.
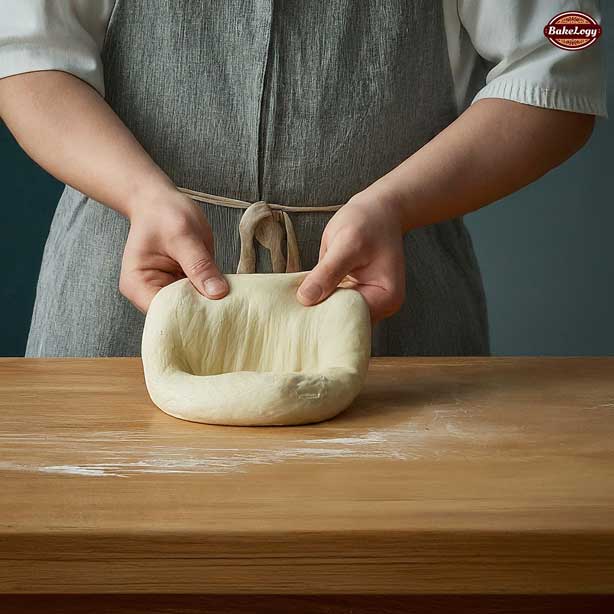
- Check for elasticity: As you knead, the dough will become smoother and more elastic. You can test its readiness by gently pulling a small piece of dough. If it stretches without breaking and springs back, it’s ready.
- Shape the dough: Once kneaded, form the dough into a ball and place it in a greased bowl for the first rise.
Tips for Kneading
- Don’t over-knead: Over-kneading can lead to a tough bread.
- Add flour sparingly: If the dough is too sticky, add a little flour at a time. However, too much flour can make the bread dry.
- Be patient: Kneading takes time and practice. Don’t get discouraged if it doesn’t go perfectly the first time.
- Consider your dough type: Different doughs require different kneading techniques and times. For example, bread dough usually requires more kneading than pizza dough.
Common Kneading Mistakes and Solutions
- Sticky dough: Add a little flour at a time.
- Dry dough: Add a small amount of water, a few drops at a time.
- Uneven dough: Continue kneading until the dough is smooth and consistent.
Conclusion
Kneading dough is a rewarding skill that can elevate your baking game. With practice and patience, you’ll be able to produce delicious, homemade bread. Remember, the key is to develop the gluten structure while maintaining a good dough consistency. Happy baking!
FAQs: Kneading Dough
General Kneading Questions
- How long should I knead my dough?
- The kneading time varies depending on the type of dough. Generally, you should knead until the dough is smooth, elastic, and passes the windowpane test (when stretched thinly, it should be translucent without tearing).
- What is the windowpane test?
- The windowpane test is a way to determine if your dough is kneaded enough. Gently stretch a small piece of dough into a thin film. If it’s translucent without tearing, it’s ready.
- Can I over-knead my dough?
- Yes, over-kneading can lead to a tough bread. The dough will become tight and rubbery.
- What should I do if my dough is too sticky?
- Add a small amount of flour, one tablespoon at a time, until the dough is manageable. Avoid adding too much flour, as it can make the dough dry.
- What should I do if my dough is too dry?
- Add a few drops of water at a time until the dough comes together.
Specific Dough Types
- How do I knead pizza dough?
- Pizza dough requires less kneading than bread dough. Knead until smooth and elastic, but it doesn’t need to be as developed as bread dough.
- How do I knead bread dough?
- Bread dough requires more kneading to develop the gluten structure. Knead until the dough is smooth, elastic, and passes the windowpane test.
- How do I knead pastry dough?
- Pastry dough is typically handled gently to prevent overdevelopment of the gluten. Use a light touch when folding and incorporating ingredients.
Equipment and Techniques
- Can I use a stand mixer to knead dough?
- Yes, many stand mixers have dough hooks that can be used for kneading. Follow the manufacturer’s instructions for kneading time and speed.
- What is the best surface for kneading?
- A clean, flat countertop is ideal. You can also use a silicone baking mat.
- Can I knead dough by hand?
- Absolutely! Hand kneading is a traditional method and can be very effective.
How to Know When Dough Has Been Kneaded Enough
Determining when dough is sufficiently kneaded can be tricky for beginners. Here are some key indicators:
Visual and Textural Clues
- Smoothness: The dough should appear smooth and elastic.
- Elasticity: When gently pulled, the dough should stretch without tearing easily.
- Consistency: The dough should hold its shape when formed into a ball.
The Windowpane Test
This is the most reliable method to determine dough readiness:
- Tear off a small piece of dough, about the size of a golf ball.
- Gently stretch the dough between your fingers.
- If the dough stretches into a thin, translucent film without tearing, it’s ready.
Other Indicators
- Time: While not foolproof, most bread doughs require kneading for about 10-15 minutes by hand.
- Feel: As you knead, the dough will become firmer and more resistant to your hands.
Remember: Over-kneading can make your bread tough, while under-kneading can result in a dense loaf. Trust your instincts and the feel of the dough. With practice, you’ll become better at judging when your dough is perfect.