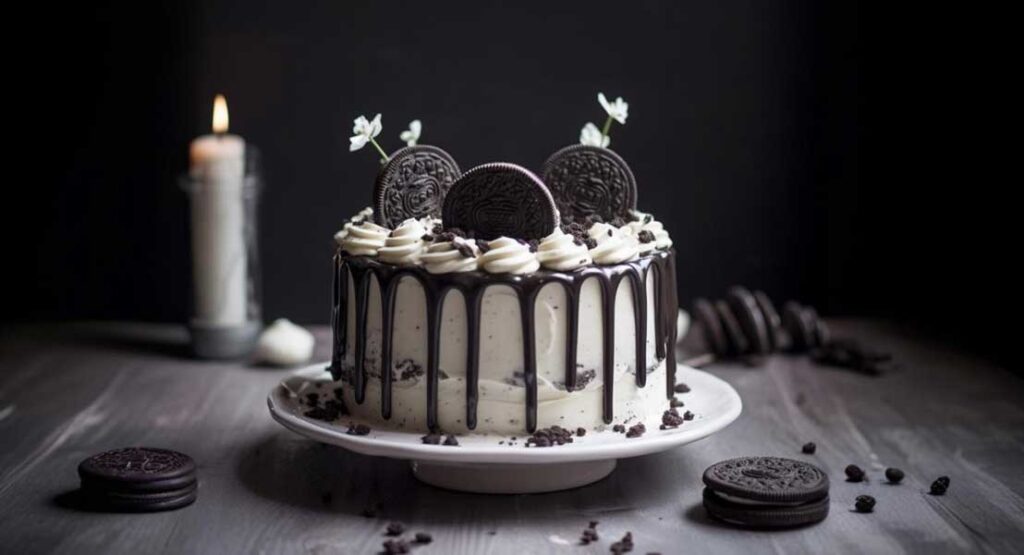
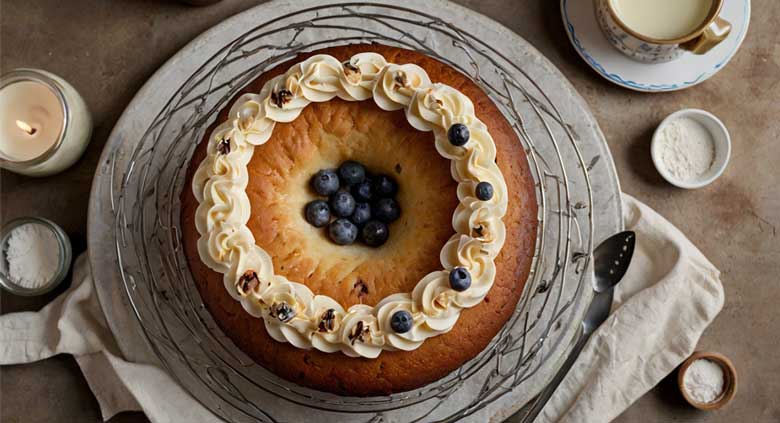
Icing a cake is an essential skill for any baker, whether you’re making a birthday cake, a wedding cake, or just something to impress your family and friends. The key to a beautiful cake lies not only in its taste but also in its presentation. Perfectly icing a cake can turn a simple dessert into a work of art.
In this guide, we’ll walk you through the step-by-step process of icing a cake to perfection, ensuring your cake looks as good as it tastes!
Why Proper Icing Matters
Before we dive into the step-by-step process, it’s essential to understand why proper icing is so important:
- Presentation: A smooth and even layer of icing elevates the cake’s visual appeal.
- Taste Balance: A well-iced cake ensures that the ratio of cake to icing is just right.
- Seals in Moisture: Icing acts as a seal, keeping your cake moist and fresh for longer.
Now, let’s get started on how to ice a cake the right way.
Step 1: Gather Your Tools and Ingredients
Before you begin icing, make sure you have the following tools and ingredients:
Tools:
- Offset spatula (preferably both small and large offset spatulas)
- Turntable (for easier rotating)
- Bench scraper or cake smoother
- Piping bags (piping bags are optional for decorating)
- Cake board or serving plate
Ingredients:
- Cake layers (fully cooled)
- Buttercream frosting (or your preferred frosting)
- Simple syrup (optional, for extra moisture)
Step 2: Prepare Your Cake Layers
Before you ice your cake, you need to prep your cake layers:
- Cool the Cake Completely: Make sure your cake is fully cooled to avoid melting the icing.
- Level the Cake Layers: Use a serrated knife to level each cake layer, ensuring they are flat. This helps the cake sit evenly and prevents wobbling.
- Brush with Simple Syrup (Optional): If your cake is a little dry, lightly brush the layers with simple syrup for added moisture. This is particularly useful for sponge cakes or cakes made ahead of time.
Step 3: Apply the Crumb Coat
The crumb coat is a thin layer of frosting that traps any loose crumbs and provides a smooth base for the final layer of icing.
- Place Your Cake on the Turntable: Set your first cake layer on a cake board or serving plate on the turntable.
- Add a Dollop of Frosting: Spread a small amount of frosting on the first layer using your offset spatula. Make sure to spread it evenly across the top.
- Stack and Frost: Place the second cake layer on top and repeat the process if you have more layers.
- Crumb Coat the Entire Cake: Use your offset spatula to apply a thin layer of frosting around the sides and top of the cake. Don’t worry about making it perfect—this layer is just to trap the crumbs.
- Chill the Cake: Place the cake in the refrigerator for 15-30 minutes to allow the crumb coat to set.
Step 4: Apply the Final Layer of Frosting
Once the crumb coat is set, it’s time to apply the final layer of frosting:
- Add a Generous Amount of Frosting: Start by adding a large dollop of frosting on the top of the cake. Spread it evenly using your offset spatula.
- Frost the Sides: Apply frosting to the sides of the cake using the offset spatula. For smoother results, hold your spatula or a bench scraper against the cake’s side while rotating the turntable.
- Smooth the Frosting: Use a bench scraper or cake smoother to remove any excess frosting and create a smooth, even finish. Work slowly and rotate the turntable as you go.
- Create Sharp Edges: For sharp edges on your cake, push the frosting from the sides toward the center of the top using the spatula. Smooth the top again for a clean finish.
Step 5: Decorate Your Cake
Now that you have a perfectly iced cake, it’s time to decorate! Here are a few simple decoration ideas:
- Piping: Use a piping bag fitted with your choice of tip to create borders, rosettes, or other designs.
- Fresh Flowers: Add fresh edible flowers to the top or sides of the cake for a beautiful and natural look.
- Sprinkles: Sprinkles can add a fun, festive touch to your cake.
- Fruit: Top your cake with fresh berries or other fruits for a colorful and refreshing finish.
Step 6: Chill and Serve
Once your cake is decorated, it’s important to chill it for another 30 minutes to allow the frosting to set. This makes the cake easier to slice and helps the icing hold its shape.
When ready to serve, let the cake come to room temperature for about 15 minutes for the best texture and flavor.
Tips for Perfect Cake Icing
- Keep Your Tools Clean: Wipe your spatula frequently to avoid crumbs in your final layer of icing.
- Work with Cold Cakes: If your cake layers are too soft or crumbly, pop them in the freezer for 15 minutes before frosting.
- Use a Turntable: A turntable makes it much easier to frost the cake evenly and smoothly.
- Chill Between Layers: Chilling the cake after the crumb coat and before decorating helps the frosting set and reduces the risk of smudges.
Final Thoughts: Icing a Cake Like a Pro
Icing a cake may seem intimidating at first, but with the right tools and techniques, it becomes an enjoyable and rewarding process. Whether you’re a beginner or an experienced baker, following these steps will help you achieve a beautifully iced cake every time.
Take your time, practice, and soon you’ll be icing cakes like a professional!
FAQs About Icing a Cake
1. How do I prevent crumbs from getting into the icing?
The crumb coat is your best friend! Apply a thin layer of frosting to trap any loose crumbs, then chill the cake before applying the final layer.
2. What kind of frosting is best for icing a cake?
Buttercream is the most popular choice for frosting cakes because of its smooth texture and ability to hold shape, but you can use any frosting you prefer, like cream cheese frosting or whipped cream.
3. How do I get smooth icing on a cake?
Use a bench scraper or cake smoother and rotate the cake on a turntable as you smooth the icing. Apply consistent pressure for an even finish.
4. How long should I chill the cake after icing?
After applying the crumb coat, chill the cake for 15-30 minutes. Once the final layer of frosting is applied, chill the cake again for another 30 minutes before serving.


