Baking is a delightful hobby that allows you to create delicious treats from scratch. However, achieving baking perfection requires precision, and that’s where measuring cups and spoons come in. These unassuming kitchen tools are essential for accurately measuring ingredients, ensuring consistent results every time. In this blog post, we’ll delve into the world of measuring cups and spoons, exploring their types, uses, and how to use them correctly to elevate your baking game.
Understanding Measuring Cups and Spoons
Measuring cups and spoons are specifically designed to measure ingredients for cooking and baking. They come in various sizes and materials, each serving a unique purpose.
Types of Measuring Cups
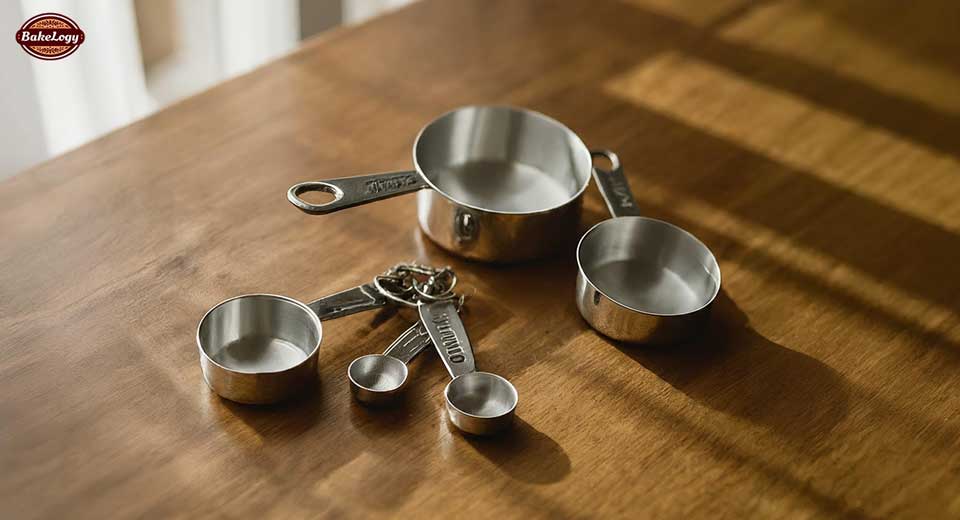
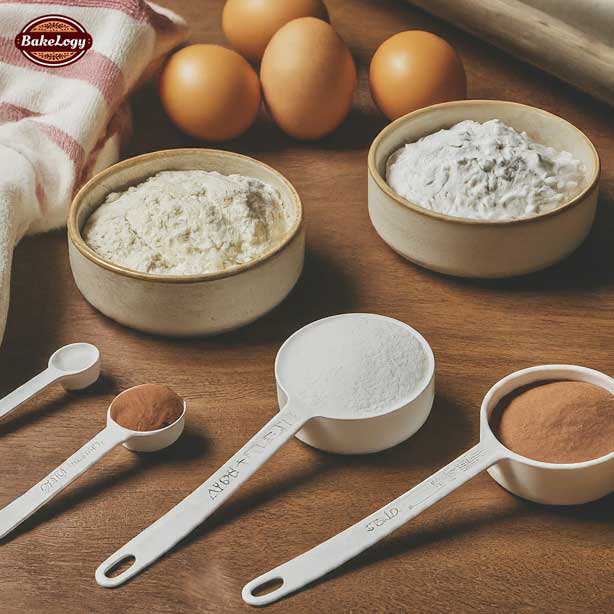
- Dry Measuring Cups: These are typically nested cups that come in standard sizes like 1 cup, ½ cup,⅓ cup, and ¼ cup. They are used for measuring dry ingredients such as flour, sugar, and cocoa powder.
- Liquid Measuring Cups: Usually made of glass or plastic, these cups have spouts for easy pouring and measurement lines for accuracy. They are used for measuring liquid ingredients like milk, oil, and water.
Types of Measuring Spoons
Measuring spoons are smaller versions of measuring cups and are used for measuring smaller quantities of ingredients. Common sizes include 1 tablespoon, 1 teaspoon, ½ teaspoon, and ¼ teaspoon.
The Importance of Accurate Measurements in Baking
Baking is a science, and precise measurements are crucial for achieving desired results. Even a slight variation in the amount of an ingredient can affect the texture, taste, and overall outcome of your baked goods. Here’s why accurate measurements matter:
- Consistency: Consistent measurements ensure that your recipes turn out the same way every time.
- Texture: The ratio of ingredients is essential for achieving the desired texture, whether it’s a fluffy cake or chewy cookies.
- Taste: Accurate measurements help to balance flavors and prevent disappointments.
Tips for Using Measuring Cups and Spoons
- Leveling Dry Ingredients: When measuring dry ingredients, use a straight edge to level off the excess.
- Filling Liquid Measuring Cups: Place the measuring cup on a flat surface and fill it to the desired measurement line.
- Scooping and Leveling: For sticky ingredients like honey or peanut butter, use a rubber spatula to scoop the ingredient into the measuring cup or spoon and then level it off.
- Conversion Charts: If a recipe calls for metric measurements, use a conversion chart to accurately measure the ingredients using your measuring cups and spoons.
Mastering the use of measuring cups and spoons is a fundamental skill for any baker. By understanding their different types and following the tips mentioned above, you can significantly improve your baking accuracy and consistency. Remember, baking is a journey, and with practice, you’ll become a pro at measuring your way to delicious treats!
Tips for Choosing the Right Measuring Tools
- Invest in Quality: High-quality measuring cups and spoons will last longer and provide more accurate measurements. Look for sturdy materials that won’t bend or warp over time.
- Clear Markings: Ensure that the measurement markings are easy to read and won’t fade after multiple washes.
- Variety of Sizes: Having a variety of sizes for both cups and spoons will make your baking process smoother and more efficient.
- Stackable and Nesting Designs: These save space in your kitchen and make it easier to store your tools.
Common Measuring Mistakes and How to Avoid Them
- Not Leveling Off Dry Ingredients: Always level off dry ingredients to avoid adding too much to your recipe.
- Measuring Liquids in Dry Cups: Use liquid measuring cups for wet ingredients to ensure accuracy.
- Ignoring Temperature Effects: Some ingredients, like butter, change in volume with temperature. Measure ingredients at the temperature specified in the recipe.
Maintaining Your Measuring Tools
- Cleaning: Wash measuring cups and spoons immediately after use to avoid residue buildup. Some materials are dishwasher safe, while others require hand washing.
- Storage: Store in a dry place to prevent rust or warping. Nested sets are easier to store and less likely to get lost.
- Regular Checks: Over time, markings may fade or tools may become less accurate. Regularly check your tools and replace them if necessary.
Common Measuring Cups and Spoons for Baking
Measuring Cups
- Dry Measuring Cups: Used for measuring dry ingredients like flour, sugar, and cocoa powder.
- 1 cup
- 1/2 cup
- 1/3 cup
- 1/4 cup
- Liquid Measuring Cups: Used for measuring liquid ingredients like milk, oil, and water.
- 1 cup (8 fluid ounces)
- 2 cups
- 4 cups (1 quart)
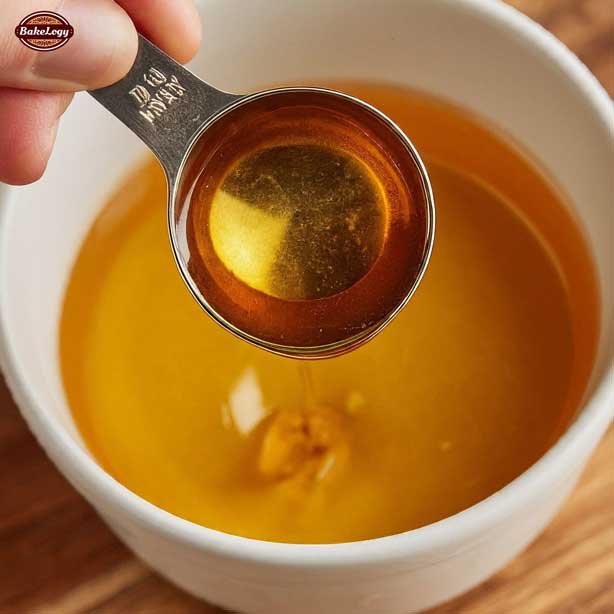
Measuring Spoons
- Teaspoons (tsp):
- 1 teaspoon
- 1/2 teaspoon
- 1/4 teaspoon
- Tablespoons (tbsp):
- 1 tablespoon (equal to 3 teaspoons)
- 1/2 tablespoon
Note: Some measuring spoon sets may include a 1/8 teaspoon, but it’s less commonly used.
Conversion Chart
To help you with recipe conversions, here’s a quick reference:
- 1 cup = 16 tablespoons
- 1 tablespoon = 3 teaspoons
- 16 ounces = 1 pound
Remember: When measuring dry ingredients, level off the excess with a straight edge. For liquid ingredients, pour until the measurement line is at eye level.
By understanding these measurements and using them accurately, you’ll be well on your way to baking success!
